When you use Camtasia to record videos, usually there are some unwanted parts in it, such as some irrelevant operations, or some glitches of your software which may cost your extra time, you may want to get rid of these. In this situation, you can just use some simple software, like
Gihosoft Free Video Cutter to deal with them, or you can directly use Camtasia itself to do them. In this article, I will tell you how to edit videos with Camtasia, you can use it to split videos, add captions, callouts and transitions in it etc.
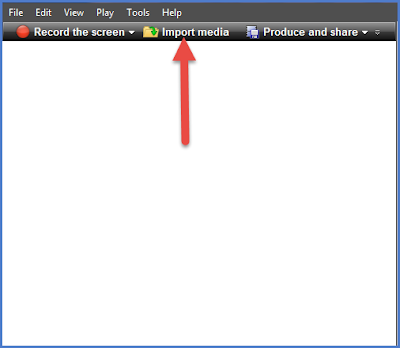
1. Import Video File
Open Camtasia and press the “Import media” button, load the video to the software, the video will show in the blank.
2. Edit Dimensions
After you import you video, pull it directly to the timeline, a new interface will pop up, the software will automatically ask you to edit dimensions. Choose and dimension you want to keep your video, you can select wide screen for 16:9 and standard for 4:3. If you are not sure about the aspect ratio, you can set it any time you like, or change the resolution as you wish. When adjusting the aspect ratio, you’d better keep the original rate, otherwise it will be stretched or squished, which is not comfortable for watching.

3. Trim the Video
You can comfortably play the video in the preview screen before you decide which parts you want to discard, the slider in the timeline will slide alongside with the video. To accurately control the time, you can use the UDLR key to adjust the time inch by inch.
To cut the unwanted part, you need to mark a start point and end point. When you choose the part you want to cut, just click the “Split” and a line will automatically appear. You just do it like this to mark the start point and end point, and click the right key of your mouse, choose “Remove from timeline”, you will finally cut the unwanted part successfully.

If you want to do more operations with your video, it has different choices for you: you can use Callouts to add annotations, use Zoom-n-Pan to to zoom in the important parts, use Transitions to add special transitional effects, use Cursor Effects to display the cursor in different ways to underline the important parts, use Captions to add captions in the video.